Friday, November 6, 2015

Appalachian Trail Hike Over Blood Mountain

I think often of individuals who are not physically able to hike but wish they could take one step on the Appalachian Trail and feel great about it.  That's why I do not let any type of weather keep me from doing it.  Rain, snow, sleet, hail do not stop me from putting one foot in front of the other.  Thunder and lightening are the only factors that will make me stay home.
 I usually hike in waterproof trail shoes, baseball hat, and rain coat.  On rare occasion I will hike in gators, rain pants, and maybe an umbrella.  As strange as it might seem, it is not hard to carry an umbrella and walk with a trekking pole at the same time.  I may look funny, but I stay very dry.
Years ago my wife bought me a Golite umbrella, but I never had the nerve to hike with it for fear of being called  a wimp.  However, I have used it during snow storms and heavy  rainfalls.  It feels really good to keep the rain from stinging my face and  the cold water from running down my neck and back.
While hiking up Blood Mountain I passed seven thru hikers who all liked the idea of the umbrella.  All seven looked as if there was not a dry spot on their body. I stopped and chatted with all of them about what might be next after they finished the trail.  The hikers had one night left on their quest to finish the 2,100+ miles of the Appalachian Trail (AT).
I am a section hiker and am not physically able to hike more than 100 miles at any one time.  As part of a southern vacation my wife agreed to help me hike a 10.7 mile section of the Appalachian Trail from Woody Gap to Neel Gap.  She dropped me off at the trail head and then picked me up that evening at the end of the trail.  Many times she has been the shuttle guide for drop off and pick up.  Most men my age are not interested in spending time hiking or backpacking any trail.  The picture below was taken at the beginning of my hike in the Chattahoochee National Forest Neel Gap by way of Blood Mountain in pouring rain.  Blood Mountain is the highest peak on the Appalachian Trail in Georgia at 4,458 feet.  There are several theories for the name Blood Mountain. One theory is that it is the spot where the Cherokee and Creek Indian tribes had a big battle for territorial land rights and thousands of indians died. Another theory is that there was a mass murder of colonists in this area by indians, and the last theory is that it is named Blood Mountain because of the red colored lichen on the rocks.


The umbrella, gators, rain jacket and waterproof shoes kept me dry for most of the hike.


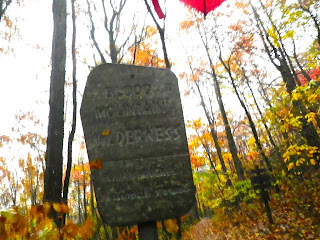
An old sign announcing the beginning of the Blood Mountain wilderness where the highest mountain on the Appalachian Trail in Georgia is found.


The trail is clearly marked with the white blaze.  It is hard to get lost on the trail because if you miss a white blaze you can turn around, and you will more than likely see a blaze making the other hiking direction.


There are trail directional signs located in areas where other trails cross the AT. The trail sign indicated that my hike was 11.7 miles long.


After thousands of hikers have hiked the AT,  the trail has become like an elongated bath tub.  All the rain and snow that falls stays on the trail and all attempts to make the water run off the trail by using water bars is almost useless.  The water was two to three inches deep for most of the hike. My waterproof shoes did a great job keeping my feet dry.


The trail was posted with bear warning signs due to all of the bear sightings at the camp areas.  The most bear activity was in the spring and bear canisters were advised for campers/hikers.


A stream restoration project was being performed at the base of Blood Mountain on a small creek about two feet wide and caution was encouraged by hikers.


It was October and the maple leaves were in full color.


There are very few four-walled shelters on the AT and Blood Mountain has one of them.  It was built in 1934 by the Civilian Conservation Corp.  I looked inside and it was dry but very damp with concrete floors.


The privy was an above ground structure called a composting toilet.  There was no privacy for all viewers could see you sitting from the waist up.


At the top there were shear rock slabs covered with wet leaves. That made it very dangerous to walk.  Two of the last three miles of the hike were on extremely slippery rock slabs and steps.


The trail leading down the north slope was shaped like a elongated rock bath tub.  The pounding rain and driving winds made it very difficult to walk down the steep slope.


Toward the bottom of the hike the trail was composed largely of steps made out of layered rock.  The down step was about twice the drop of a normal stair step in a house.  The impact to the knees was very stressful.  With every step I could hear mentally my couch potato friends say, "That is why we do not hike."

At the bottom of Blood Mountain at Neel Gap is a large backpacking store and hostel called the Mountain Center, the only place on the AT where you actually pass through a man-made rock structure.   You can restock any of your needs as well as have a bed, towel,  and hot shower all for seventeen dollars.


Isaiah 40:4 - Every valley shall be exalted, and every mountain and hill be made low: and the crooked shall be made straight, and the rough places plain:



                       Winter Bicycling 

                                     The Bike Ride


I go on an outside activity just about any time of the year.  If someone wants to go I am willing to venture out with them.  I have several friends in Richmond, Virginia who share that same desire to be in the outdoors.  
I was recently invited to go on a bicycling trip around Richmond one Saturday morning.  For many years I lived in the Richmond suburbs and worked in  the downtown area.  I bicycled to and from work every day for fifteen years in all kinds of weather.  Many times I cycled the twenty mile trip during  cold, rainy, snowy, and icy conditions.  I was prepared to take on the January winter cycling challenge. 
We started at 6:30 AM on Saturday with the temperatures near twenty degrees.  It was still dark and headlights and tail lights were a necessity.  It is important to check the condition of your bicycle before you start.  I did not check my bike before we started peddling and found out that my shifter cable to my rear derailer had jammed in a mid-range gear, and I had to peddle the thirty miles with what amounted to riding a side walk bike.  Fortunately, we did not have to go up too many hills, I could stand up and pump up those hills.  During the ride we averaged ten to twelve miles per hour which made a chill factor below freezing.  Richmond had just experienced a week of snow and freezing rain.  The roads were covered with sand and chemicals used to treat them for safe automobile travel.  When you ride on a road like this your tires pick up the road treatment, and at the end of your ride your chain is coated with lots of sand and debris.

                                             Gear

Bicycle - Start with a bicycle in good mechanical condition and with a working headlight and tail light if you will be starting before daylight.  I prefer using toe clips rather than snap on pedals.  I have had several accidents riding in the city using both types of pedals, and my injuries have been less with the toe clip cage type of pedals.  I have installed a small bicycle rack over the rear tire to carry extra gear and to stop the splatter from the rear tire onto the back of my clothes.  On my down tubes there are two water cages for my water bottles and for carrying extra tire gear.  An insulated water bottle will  keep the water from the freezing during chill factors.


Cycling tights - Cycling tights go over your regular cycling shorts. The tights are normally a synthetic tight-fitting fabric to give you and extra layer of clothing to shield the cold wind. With temperatures near freezing the tights are built with a wind proof front fabric over a warmer breathable rear fabric.  Overlapping extra folded material at the knees allows for freedom of movement while peddling.  A draw string at the waist keeps them from slipping down, and zipped bottom cuffs make it easy to remove without taking your cycling shoes off.


Front 


Back

Cycling base layer - A base layer of a tight fitting non-cotton breathable synthetic long sleeve shirt allows the sweat to wick away from the body. A half zippered neck allows for venting heat away from the body. 


Base long sleeve non cotton layer

Top layer - A short sleeve half-zippered wool top layer Jersey wicks the perspiration away from the body.


Top layer wool cycling jersey

Winter cycling coat - A winter cycling coat usually consists of a wind resistant fabric in the front and a breathable synthetic fabric in the rear.


Reflective wind breaker- May be worn outside of the cycling coat.


Reflective vest - May be worn in place of a jacket in warmer weather.


A balaclava - May be worn to protect the face from wind burn.


Neckerchief - A neckerchief is sometimes used to protect carotid artery in the neck from the cold.


Toe clip hoods - While cycling in the cold your toes do not get good blood circulation. You can buy a small hood that you Velcro around your toe clip to protect your toes from the severe chill factors.


Touring bicycling shoes - No Snap-ins cleats. It is a good idea to wear cycling shoes that you can walk in, in case you have bicycle malfunctions.  In that way you can walk to a near by house or business.


Socks - The proper wool socks are important because you do not want them to be too tight and restrict the blood flow to your feet.  A silk inner sock and a wool outer sock should be enough protection to guard against numb feet from the cold.


Neoprene overshoes - These are covers available to help keep your feet warm. The shoe cover goes over your cycling shoe,  insulating your foot from extreme cold due to very low chill factors.


Mirror - A mirror is essential in order to see approaching cars from behind you.  It may attach to the handle bars or to the side of your helmet.


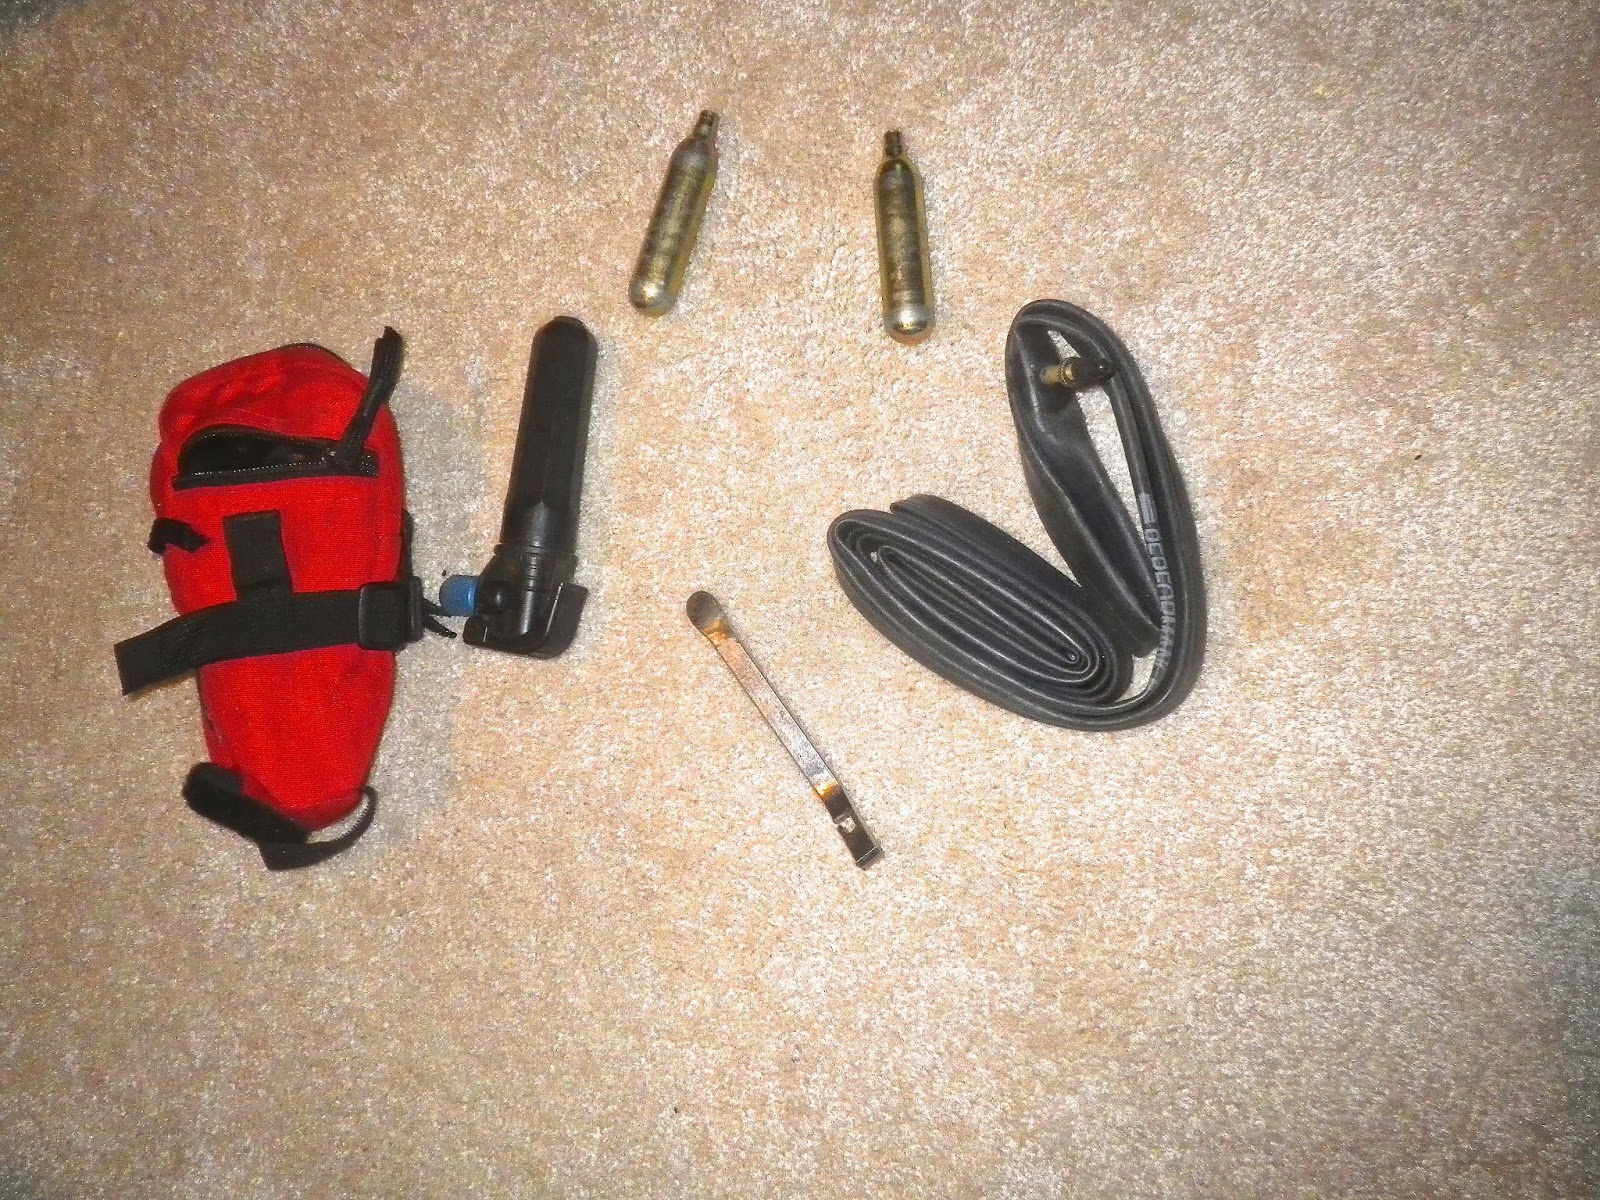
Tool/repair kit - Tire changing tool, extra tube, tire patch kit and some way to inflate the tire would be important to have in your kit.


Contents of tool/kit - Be sure to include a CO2 air pump, extra tube, tire changer tool.


Extra tools - You may also carry some extra tools such as an adjustable wrench, tape,  and bungee straps


Water bottle/snack - Pack at least one water bottle for rehydration and a protein snack/power bar.

The pictures/information above include most of the equipment that I carry for a bicycling trip in the winter. 

John 15:11 - These things I have spoken unto you, that my joy might remain in you, and your joy might be full.